Configuring SharePoint provider
To configure the folders provider Intelequia SharePoint DNNFolderProviders , realize these following steps:
1. Log in with a user that has portal administration permission.
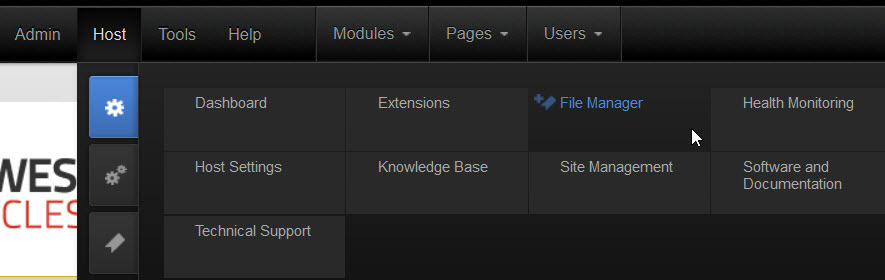
2. Go to File Manager via the control panel menu Admin> File Manager or Host> File Manager
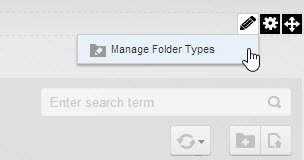
3. Once in the manager file and in an edit mode, select the menu Manage Folder Types context menu of the file manager module:
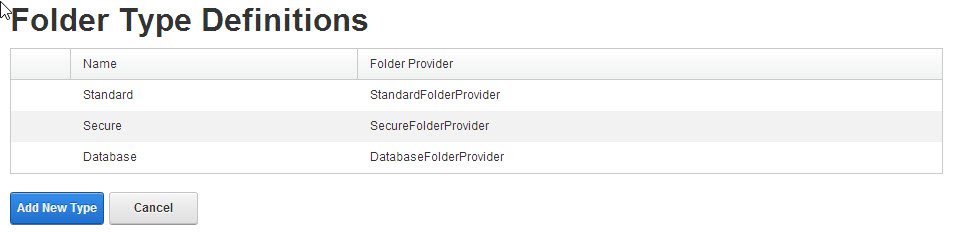
4. In the Folder Types screen, click the Add New Type button
5. In the Name text box, enter the name you want to give to the new type of folders, for example, SharePointHost, and select from the list the value provider type ISSWindowsAzureFolderProvider

6. After selecting the type of provider, you need to add SharePoint Online Site URL, Office 365 User Name and Password.
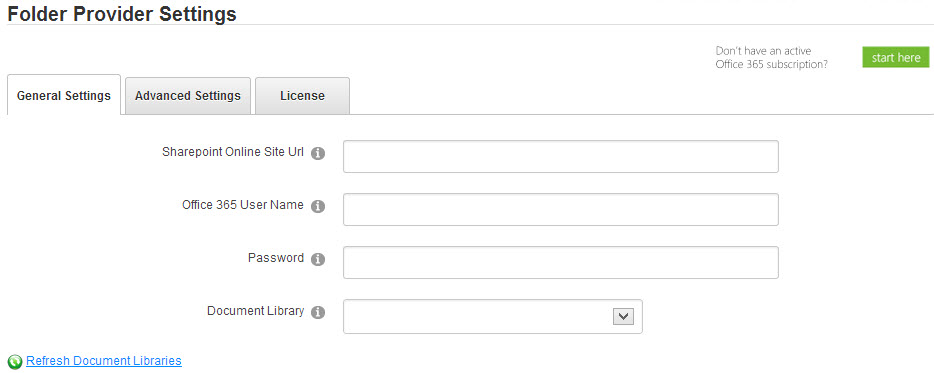
Note: In case you do not have Office 365 account, click on Star here:

you can access to a free trial with 25 licenses (plan E3).
7. After entering this data, click on Refresh Document Libraries to obtain the list of libraries in our SharePoint site. It only remains to choose the one you want to use.
8. At this point, click on Update and it will be configured.
9. In the Advanced Settings tab, you can configure the following parameters:
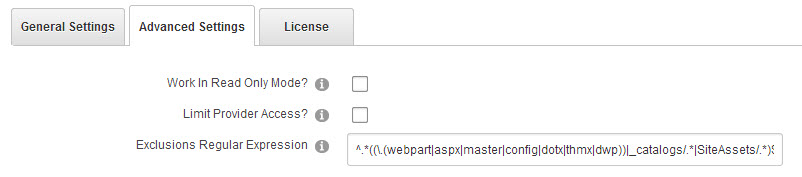
- Work In Read Only Mode? Checking this option will only allow reading operations.
- Limit Provider Access? check this option to authorize only Super Administrators to modify the options.
- Exclusions Regular Expression: Regular expression to avoid synchronizing files that validate.
10. Press the Refresh button, and Sharepoint provider will already be configured.
Creating folders and files synchronized with SharePoint
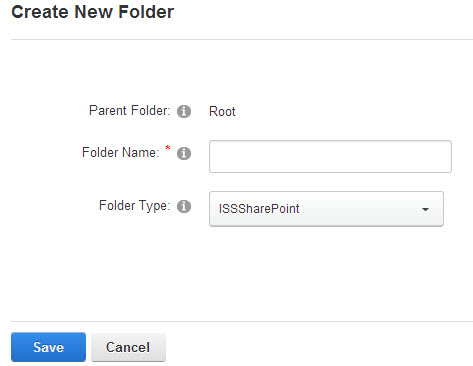
Once you have configured the SharePoint provider, to create a folder simply click on New Folder:

select the folder type drop-down list, enter the name and click on Save: