Configuring Dropbox provider
To configure DropBox Intelequia DNNFolderProvider realize these following steps:
1. Log in with a user with administrative permissions tokendel Portal
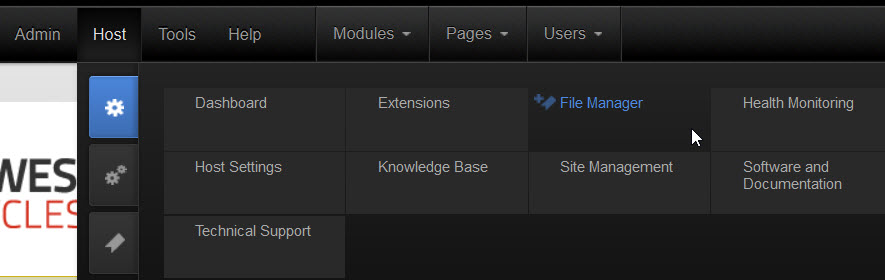
2. Go to the file manager through the control panel menu and enter Admin>File Manager or Host>File Manager
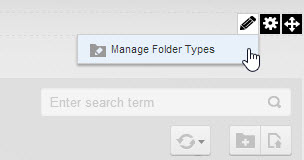
3. Once in the file manager and in edit mode, select the menu Manage Folder Types context menu of the manager file module :
4. In the folder type screen, press the button Add New Type
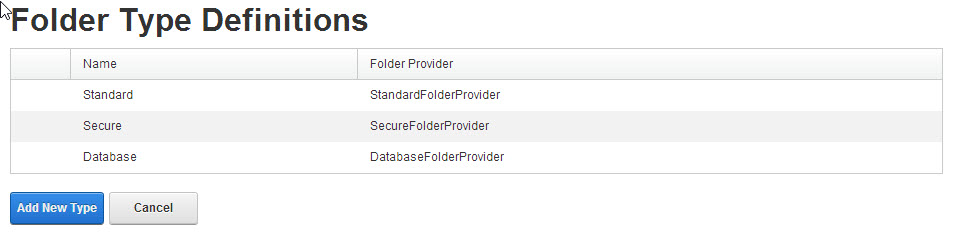
5. In the text box Name, enter the name you want to give to the new type of folders, for example, Dropbox Private, and select from Folder Provider the list the value provider type ISSDropboxFolderProvider:

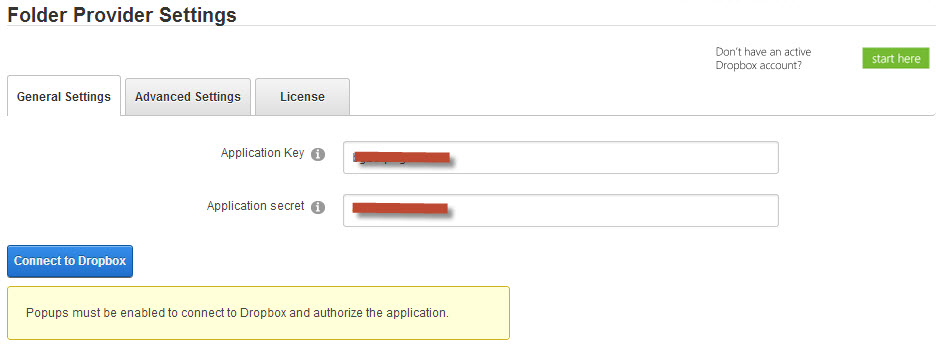
6. After selecting the type of provider, you need to add App Key and App Secret generated for Dropbox in order to authorize the provider to synchronize foldersfiles (this process is fully described in the same screen by clicking Start here).
7. To do this, we will realize the following steps complying with Dropbox's policies, respecting web applications (the user's name and password aren't stored on the website, but an authorized token generated by Dropbox generated once we authenticated):
- Enter a name, DNNDrive Text
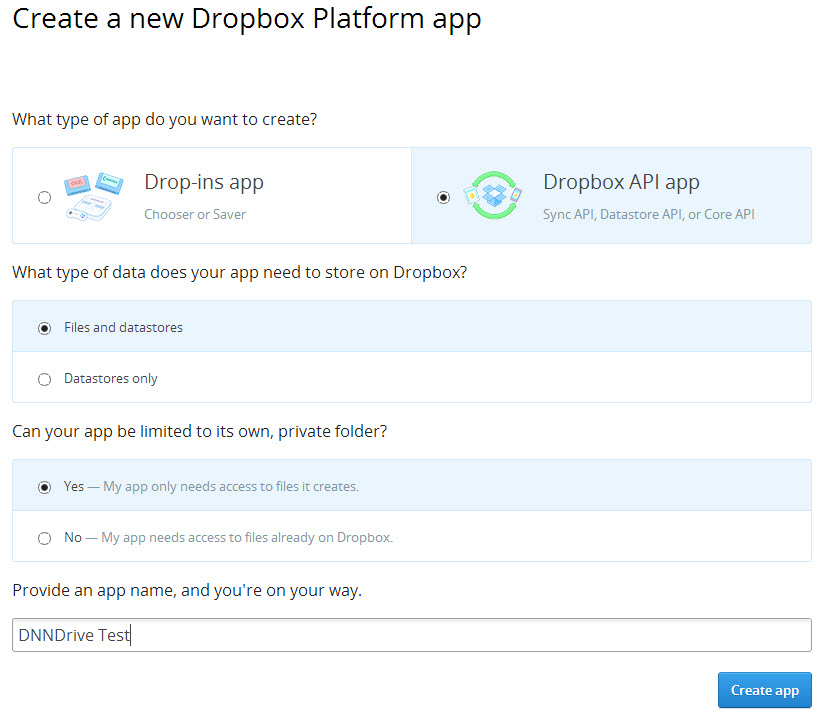
- Clicking on the button Create app, generates the App Key and App Secret for introducing in text boxes provider configuration. IMPORTANT: on the OAuth redirect URI, type the URL https://<yoursitename>/Providers/FolderProviders/Intelequia.DNNDrive/DropBoxAuthorization.aspx Note that you need to specify https, Dropbox no longer allows to use http for non local redirect URIs. That also means you need to install and setup a SSL certificate on your site.
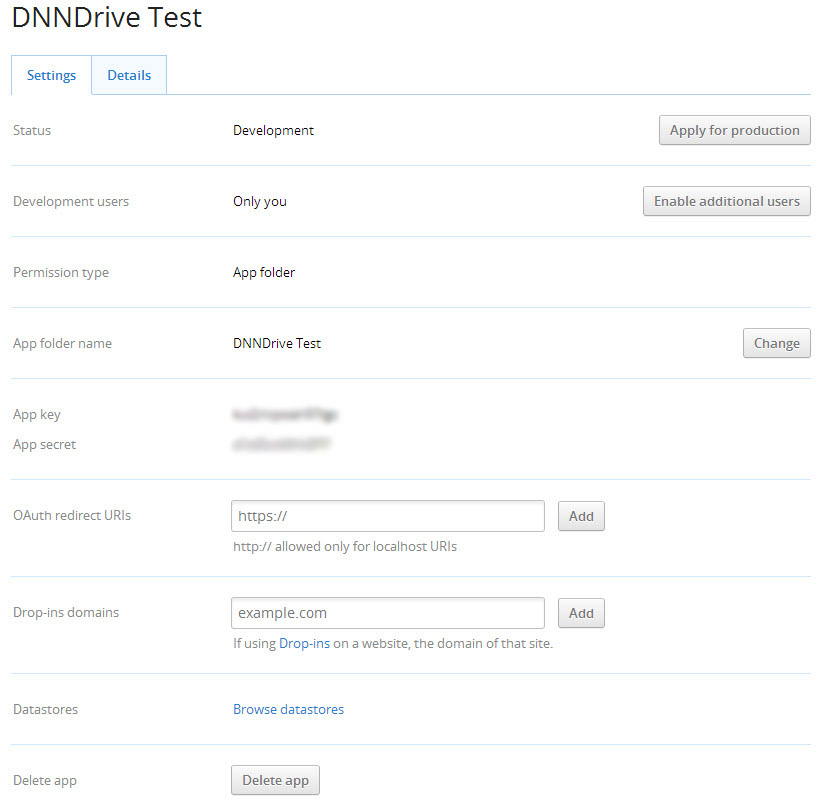
8. Returning to the provider configuration, strike App Key and the App Secret in the appropriate fields and click the button Connection to Dropbox.
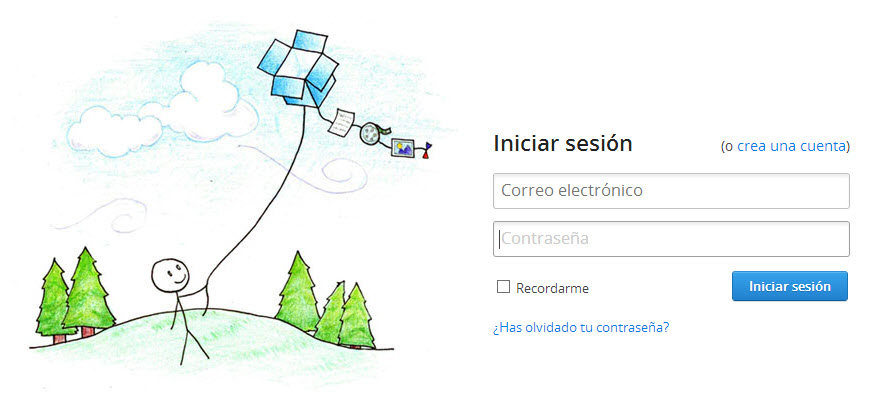
IMPORTANT NOTE: the browser must have popups enabled for this process, since it will open a Dropbox authentication
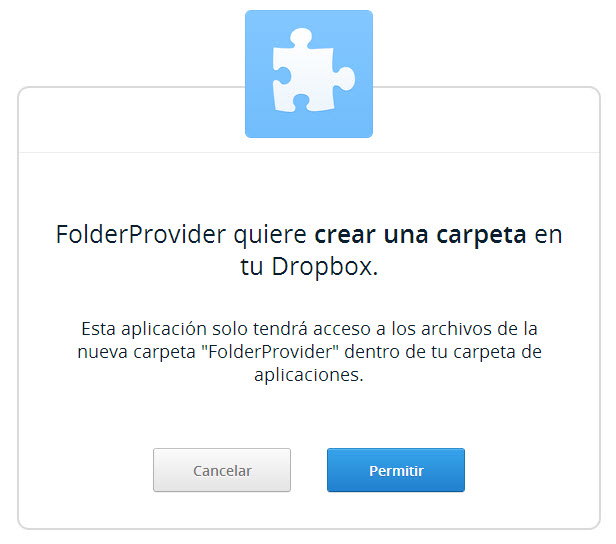
9. In the popup window, Dropbox will require your credentials to authorize the Web application to access to your account. Note that this authentication process isperformed directly by Dropbox under secure communications without the need of the web application to access to these credentials. Finally click on Allow to return to the provider configuration folders.
10. Returning to the provider configuration displays information about the connection to the Dropbox account, the space used, etc.

11. In Advanced Settings you can select :
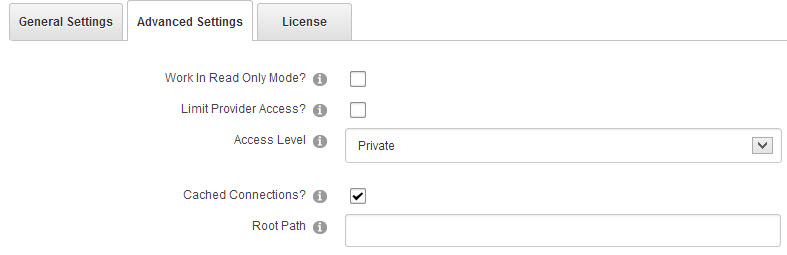
- Work In Read Only Mode: if it is enabled, the access is read-only Dropbox.
- Limit Provider Access: If selected, only users can view or modify host provider instance.
- Access Level: If the access is public, the contents will be located in the folder/Public and the URLs of the files will be on Dropbox's public addresses.
- Cached Connections: This setting specifies the use of Dropbox' cache memory connections and improves the performance. The connections are cached for a day or until you restart the application.
- Root Path: You can specify a path inside the container to give us the ability to have multiple folders provider configurations within the same container.
Moreover, we indicate the tokens allowing to create combinations, thanks to these options:
12. Pressing the button Update will immediately configure Dropbox.
Creating synchronized folders and files with Dropbox
Once you have configured the Dropbox provider, to create a folder simply, click on New Folder:

select the folder type drop-down list, enter the name and click the button Save: