Configuring Azure provider
To configure Intelequia Azure DNNFolderProviders, realize these following steps:
1. Log in with a user that has portal administration permission.
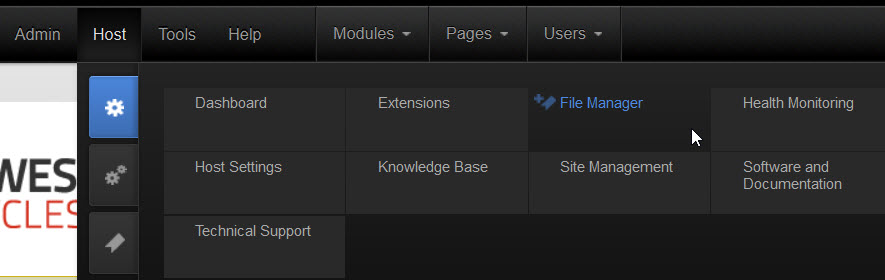
2. Go to File Manager via the control panel menu Admin> File Manager / Host> File Manager
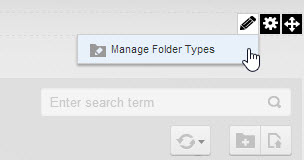
3. Once in the manager file and in an edit mode, select the menu Manage Folder Types context menu of the file manager module:
4. In the Folder Types screen, click the Add New Type button
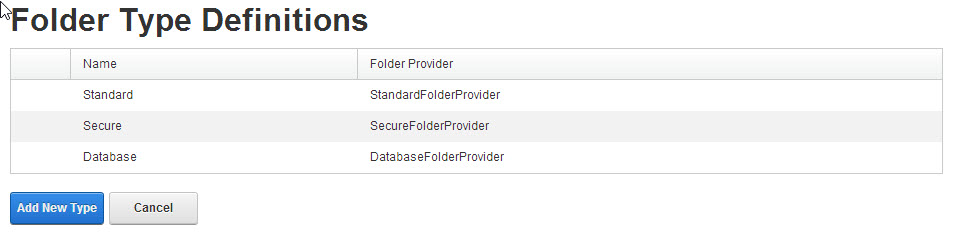
5. In the Name text box, enter the name you want to give to the new type of folders, for example, AzureHost, and select from the list the value provider type ISSWindowsAzureFolderProvider

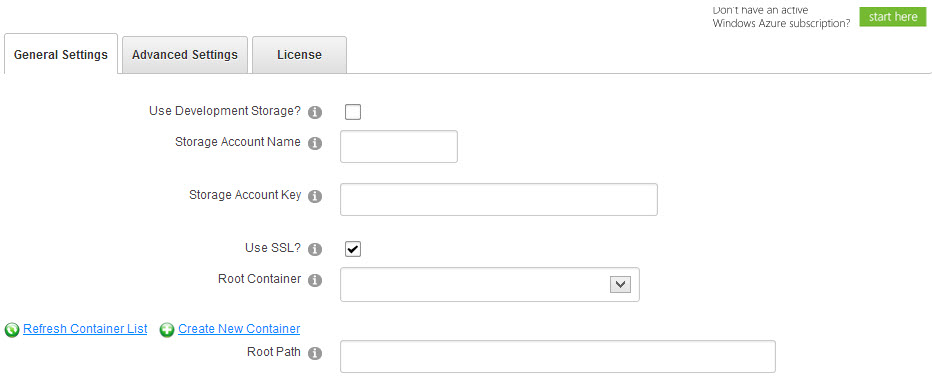
6. After selecting the type of provider, you need to add Storage Account Name, Storage Account Key and the Root Container generated to authorize the file synchronization folders provider
7. To do this, realize the following steps:
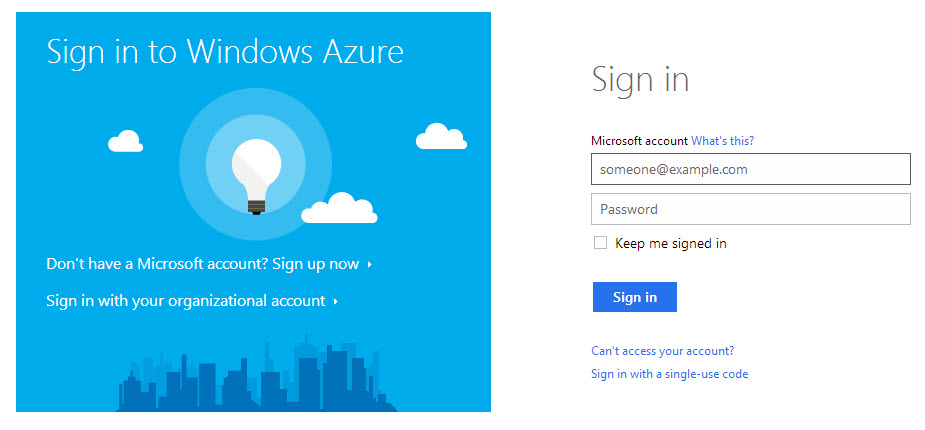
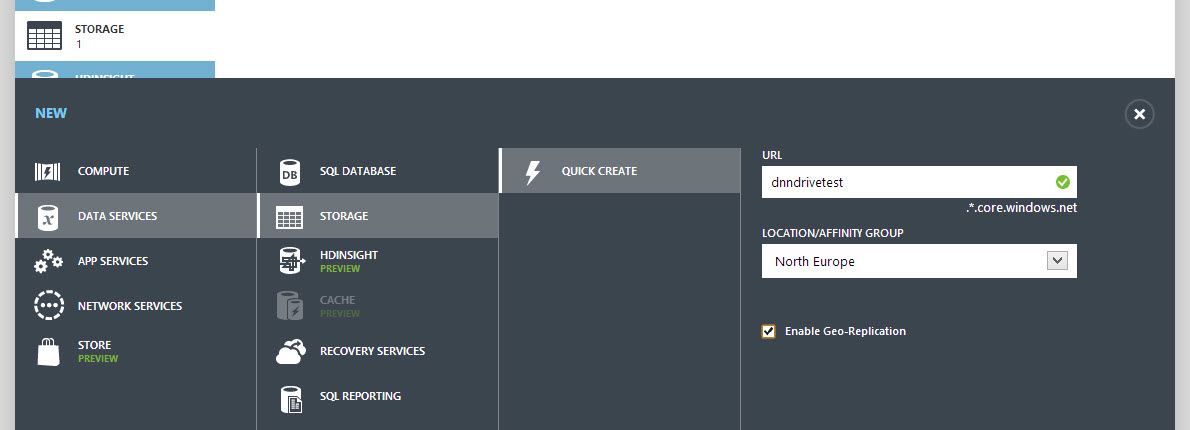
- Once logged in, click on Storage, +New, and create a new storage account.
- Once the storage account created, if you click on it, you can access to the control panel
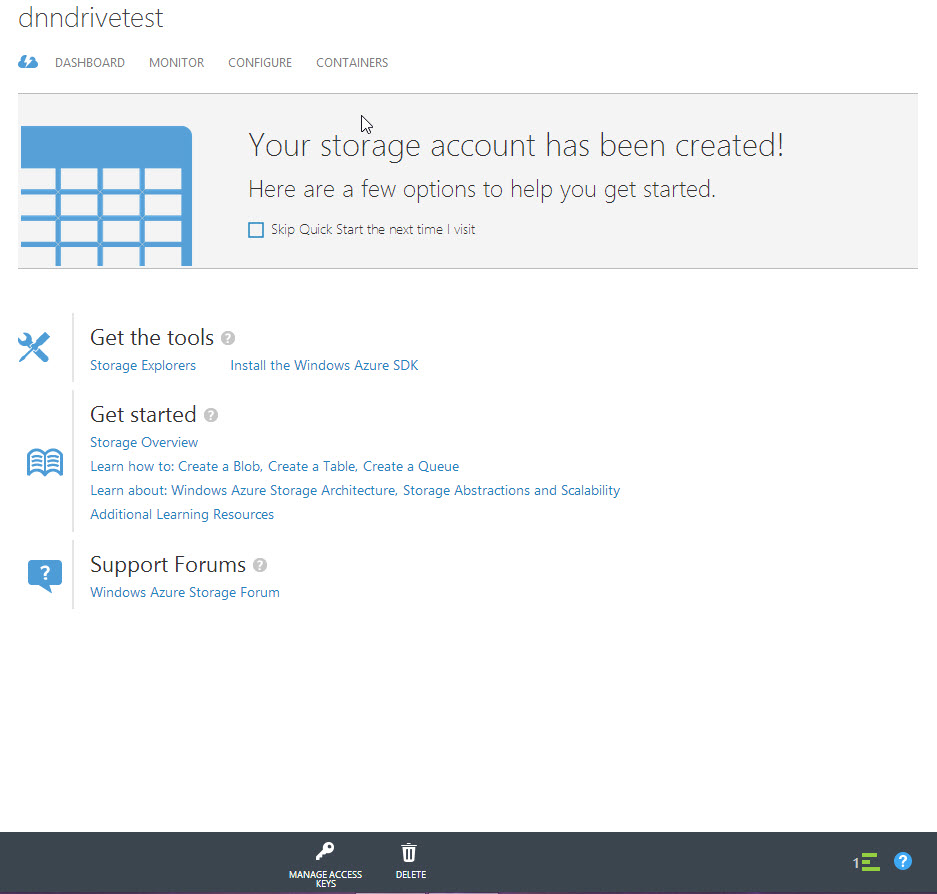
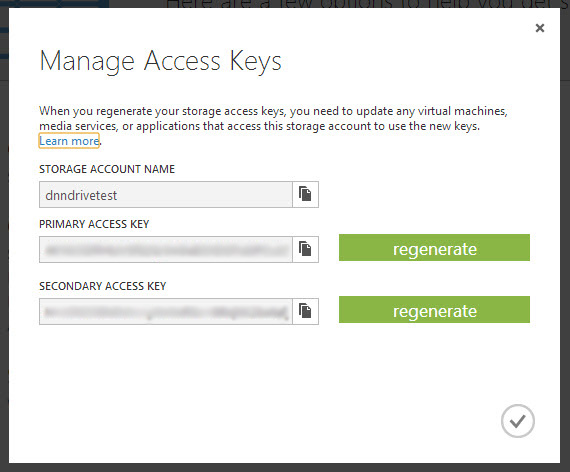
- Clicking on Manage Access Keys you can get the Storage Account Key (Primary Access Key) and the Storage Account Name:
8. After entering both, click on Refresh Container List to get the list of our containers account. It only remains to choose the one we want to use.
- In case you have no container you are able to create one by clicking on Create New Container, which will bring you on:
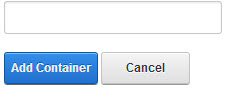
- Insert the name of the container and click on Add container.
9. At this point, if you press Update it will be configured.
Note: For more information click on Star here:
10. We also indicate various settings like:
- Use Development Storage, disassociating environment production for the environment development .
- Use SSL, checking this option will use a secure connection to the Azure server.
11. In the tab Advanced Settings we can configure the following parameters:
- Root Path: You can specify a path inside the container to give us the ability to have multiple folders provider configurations within the same container.

Moreover, we indicate the tokens allowing to create combinations, thanks to these options:

- Use Shared Access Signature URLs? generates URLs that expire after a certain period of time. A new policy called ISSRead shared access will be created in the container, which can be revoked if the shared access is disabled, ensuring that the above URLs are not accessible.
12. Pressing the button Actualizar will immediately configure Azure provider.
Creating folders and files synchronized with Azure
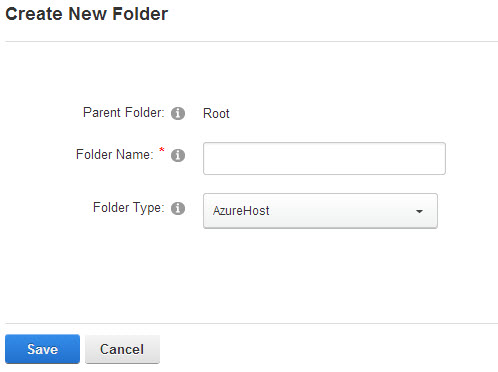
Once you have configured the Azure provider, to create a folder simply click on New Folder:

select the folder type drop-down list and click the button Save: